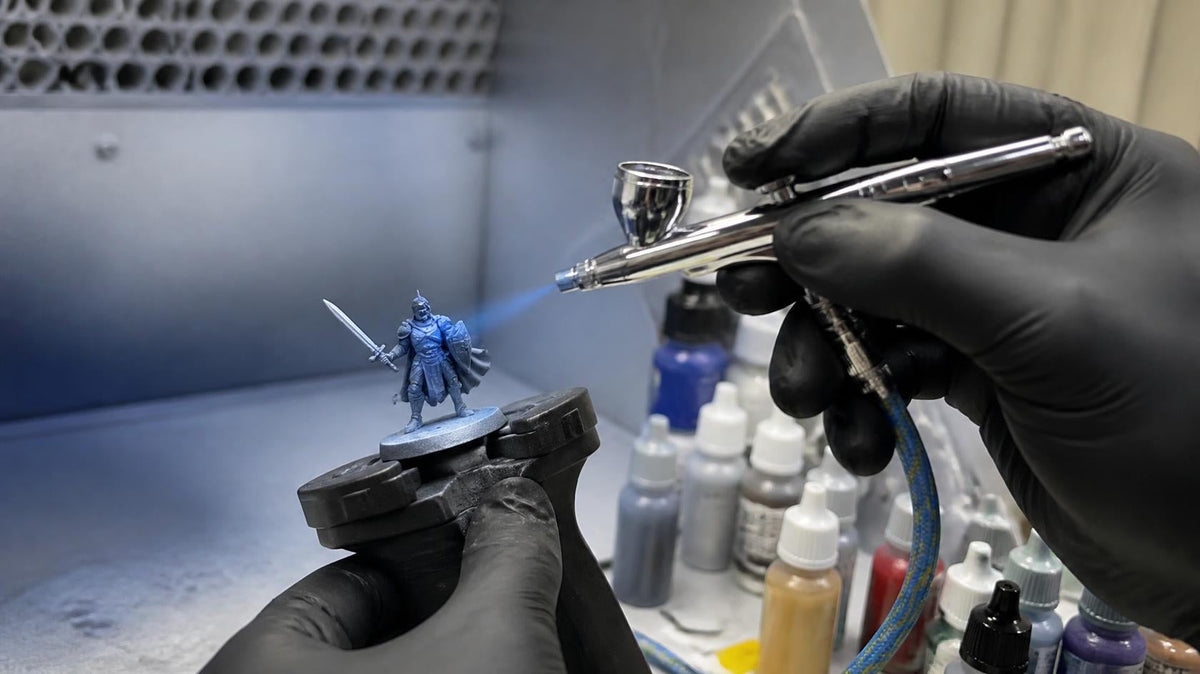
An airbrush looks intimidating until you've used one for about twenty minutes. After that, most people wonder why they spent so long brushing basecoats onto thirty models by hand.
We paint a lot at Rising Sun FPV: miniatures, scale models, 3D prints, props, and the occasional life-size dragon. This is the guide we wish someone had handed us at the start.
What an Airbrush Is Actually Good For
An airbrush doesn't replace your brushes. It does a few jobs far better than a brush can:
- Priming and basecoating. Thin, even coats that don't fill in detail, on one model or a whole army.
- Smooth blends. Gradients, zenithal highlights and soft transitions that are hard work by hand.
- Big surfaces. Vehicles, terrain, rolling stock and 3D printed props, with no brush strokes.
- Speed. Getting a squad to tabletop-ready in an evening.
Eyes, edge highlights and fine detail are still brush work. Most painters end up using both.
The Gear You Need
The airbrush
Nozzle size is the main thing to understand when choosing one:
- 0.2mm is for fine detail. Lovely once you know what you're doing, less forgiving of thick paint.
- 0.3mm is the all-rounder, and the one we'd point most beginners to. Fine enough for miniatures, open enough to basecoat without constant clogs.
- 0.5mm is for primers, varnishes and covering larger models quickly.
We stock the DragonAir range in all three sizes, including a 0.5mm trigger-action model that's comfortable for long basecoating sessions.
Air
You'll need a compressor, ideally one with a tank and a pressure regulator so the airflow stays steady and you can dial the pressure up or down. Add a moisture trap, especially in North Queensland. Humid air condenses in the hose, and water spitting out of the nozzle mid-coat will ruin your day. Have a look through our airbrushes and compressors for hoses, quick-release fittings and inline moisture traps.
The bits everyone forgets
- Airbrush cleaner and something to spray it into
- Pipettes for moving paint and thinner around
- Painting clips or handles so you're not holding the model
- A respirator, not a dust mask (more on that below)
- Gloves, unless you like having one blue hand
You'll find most of these in painting brushes and tools.
Choosing Paint
This is where beginners get stuck, because not every paint is ready to go through an airbrush.
Airbrush-ready acrylics
The easiest way to start is with paint that's already the right consistency. Bifrost is our own airbrush paint, developed with Model Paint Co. and made here in Townsville. It's an acrylic that sprays straight from the bottle with no thinning, which removes the single biggest source of beginner frustration. Shake it, pour it, spray it.
Brush paints, thinned down
Pots like Citadel Base and Layer are made for brushes and are too thick to spray as they come. You can absolutely airbrush them, but you need to thin them first. The usual advice is to aim for the consistency of skim milk: it should run down the side of the cup and leave a thin film of colour behind. Thin a little at a time and test on something that isn't your model.
Lacquers
Acrylic lacquers like the SMS Premium range spray beautifully, dry fast and give a tough, smooth finish, which is why scale modellers love them. They're solvent-based, so they need proper ventilation and a respirator rated for organic vapours. Great paint, but not where we'd start on day one at the kitchen table.
Your First Session, Step by Step
- Prep the model. Clean off mould lines and dust. If it's a resin 3D print, make sure it's fully washed and cured.
- Prime. Primer gives the paint something to grip. Use an airbrush primer or a rattle can. Let it dry properly.
- Set your pressure. Somewhere around 15 to 25 PSI suits most miniature work. Lower for fine detail up close, higher for primers and thicker paint.
- Practise the trigger. On a dual-action airbrush, push down for air and pull back for paint. Get in the habit of air on, paint on, paint off, air off. It stops paint drying on the needle tip and spitting.
- Spray thin coats. Hold the airbrush 5 to 10cm away and keep it moving. Two or three light passes beat one heavy one every time. If it looks wet and shiny, you've put too much on.
- Let each coat dry. It only takes a minute or two. A bit of air from the airbrush with no paint speeds it up.
- Clean up straight away. Flush the cup with cleaner until it sprays clear. Don't leave paint sitting in there while you make a coffee.
When It Goes Wrong
| What you see | Likely cause | Fix |
|---|---|---|
| Spitting or spluttering | Dried paint on the needle tip, or water in the line | Wipe the tip with cleaner on a cotton bud; check your moisture trap |
| Spidery runs | Too close, too much paint, or pressure too high | Back off, ease up on the trigger, lower the pressure |
| Rough, sandy finish | Paint drying before it lands | Move closer, lower the pressure, or add a little thinner |
| Nothing coming out | Clogged nozzle or paint too thick | Flush with cleaner; thin the paint more |
| Bubbles in the paint cup | Loose nozzle or nozzle cap | Check everything at the front is seated and snug |
A Quick Word on Safety
Airbrushing turns paint into a fine mist, and you don't want that in your lungs, even with water-based acrylics. Spray somewhere ventilated and wear a proper respirator. With lacquers and solvent thinners it isn't optional: organic vapour filters, good airflow, and no ignition sources nearby.
Come and Ask Us
We use this gear ourselves, so if you're stuck choosing between nozzle sizes or can't work out why your airbrush keeps spitting, ask. Drop into the shop at 22 Castlemaine Street, Kirwan, or get in touch through the contact page.
Then go and paint something.